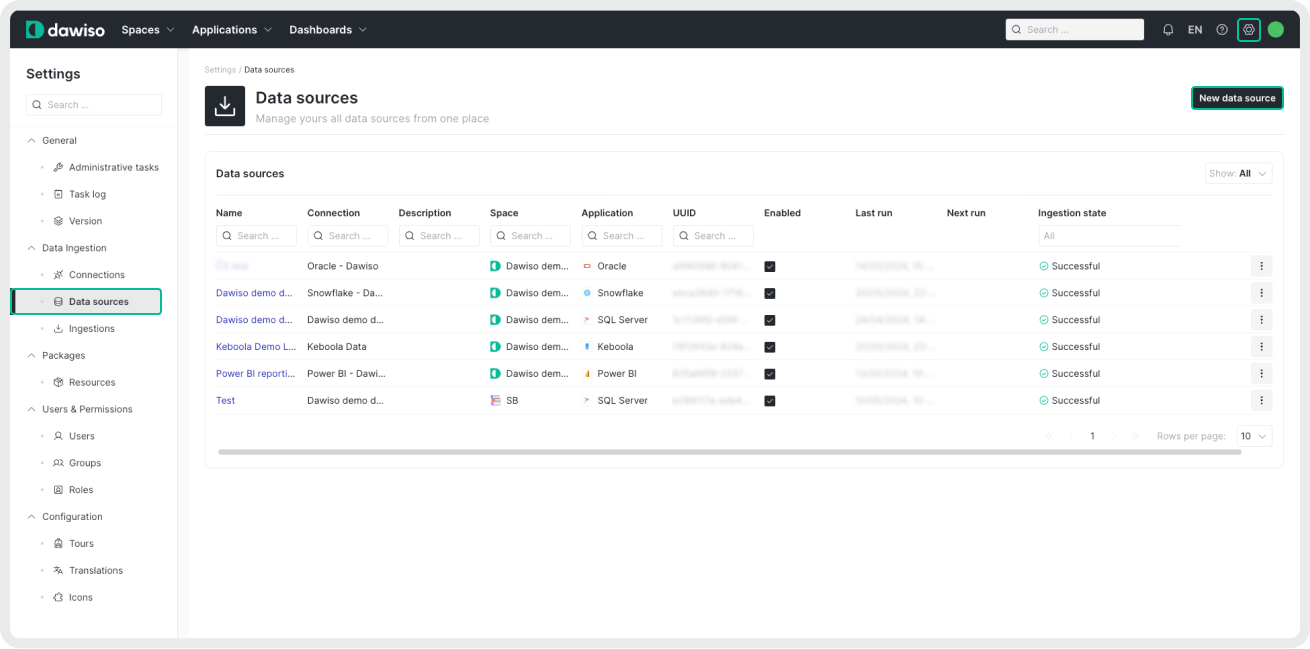
- Navigate to Settings > Data Ingestion > Data Sources.
- Click New data source.
- Select your system and the newly created connection.
- Name your source (and add a description) for easier identification in Dawiso.
Select workspaces
In this step, select all workspaces you want to ingest into Dawiso.
Provide a list of workspaces to be scanned. You have the workspaces filtering options:
| Filter type | Action |
|---|---|
| Workspace Type | Choose to include all workspaces or active only. |
| Included Workspaces | Provide a comma-separated list of workspaces to include. Make sure to avoid unnecessary spaces or illegal characters. |
| Excluded Workspaces | Provide a comma-separated list of workspaces to exclude. Make sure to avoid unnecessary spaces or illegal characters. |
| Workspaces Filter Expression | Use LIKE style expression for filtering, e.g., %finance%, to integrate all workspaces with the “finance” string in their names. This filter is case-insensitive. |
| Workspaces Filter Regular Expression | Use full-featured regular expressions to filter workspaces by name with more precision. |
Editing the list of workspaces
If you edit the list of workspaces for an an existing and already ingested data source, note the following:
- Newly added workspaces will be ingested during the next ingestion run.
- Removed workspaces will be treated as deleted. Dawiso will automatically remove all associated metadata during the next run. This includes any user-added content such as descriptions, ownership, or relations.
Destination configuration
In the Destination configuration step:
-
Select into what space you want to store your ingested metadata. Keep in mind you can select only the spaces you have access to.
-
Select the workflow for ingested objects management. For more information on workflows, see the article on Workflow types.
-
[Optional steps]
Configuration Description Schedule To customize the regular automated ingestion, check the box next to Schedule and adjust the frequency. Optional Settings Specify options supported by the provider in JSON format. Option will be made available based on feedback. For more information, see Optional Settings. Additional Settings Add a JSON formatted list of additional settings that can be used to troubleshoot your custom scenarios. We recommend leaving this field empty unless our Dawiso support team suggests otherwise. Enable AI-Generated Descriptions Enable AI-generated descriptions for your ingested metadata. Descriptions will be generated according to prompts that are defined in packages. Each attribute type can have its own configurable prompt and any AI-generated content will be clearly marked with a banner the text is manually reviewed and saved. Descriptions will be generated on the following levels: database, schema, view, and table. 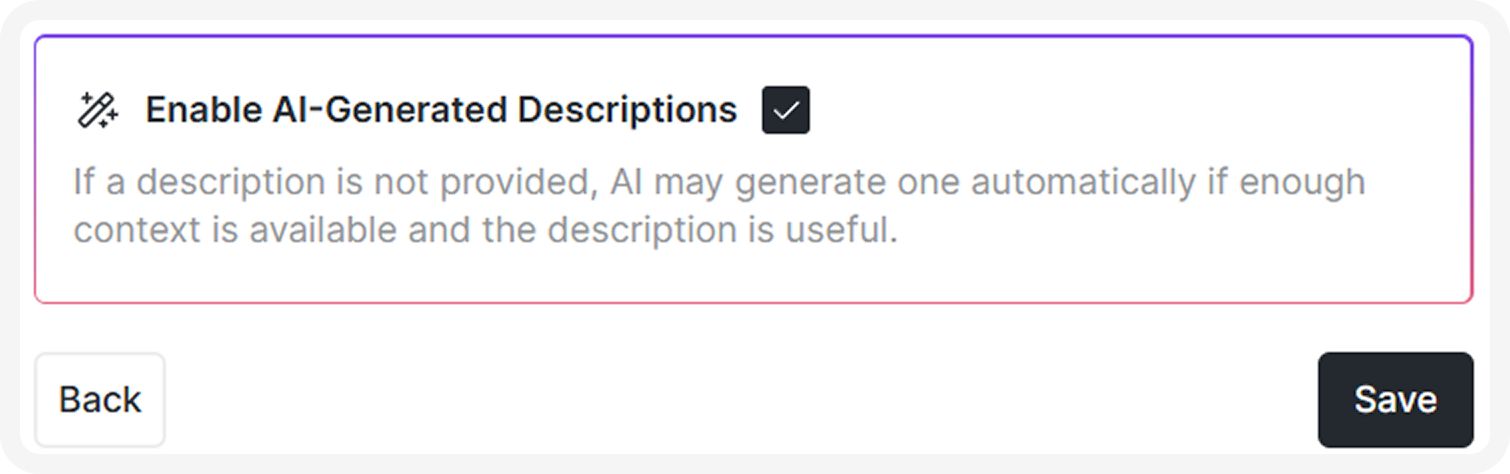
-
Save your data source.
If you delete a data source and then create a new one to the same space, the original ingested data will remain and mix with the new data. To prevent duplicates, always delete the metadata application from the space (with the old source) before creating and ingesting a new one.
Run ingestion
Once you create your data source, you will be redirected to a list of your data sources.
- Click the three dots next to your newly created source, and select Run ingestion.
- Confirm to ingest your data.
You can find all new, running, or completed ingestions by navigating to Settings > Data Ingestion > Ingestions. For more information, see the article on Ingestions.
If you are ingesting data on-premises, refer to these articles instead Dawiso Integration Runtime (DIR).
Once data is ingested to metadata applications, manual changes to the object hierarchy are NOT allowed. Changes such as adding, deleting, or moving objects under different parents may cause data inconsistencies and break data scans.